Hogwarts Legacy: Unveiling the Secrets of Beastly Aliases
Hogwarts Legacy: A Guide to Nicknaming Your Rescued Beasts
Hogwarts Legacy continues to delight players with its hidden depths and engaging features. For those seeking deeper immersion, the ability to rename rescued beasts adds a personal touch. This guide will walk you through the simple process.
- By Peyton
- Feb 01,2025
Hogwarts Legacy: A Guide to Nicknaming Your Rescued Beasts
Hogwarts Legacy continues to delight players with its hidden depths and engaging features. For those seeking deeper immersion, the ability to rename rescued beasts adds a personal touch. This guide will walk you through the simple process.
Steps to Nicknaming Beasts:
- Access the Vivarium: Travel to the Room of Requirement in Hogwarts Castle and locate your Vivarium.
- Summon the Beast: Ensure the beast you wish to rename is present. If it's in your inventory, summon it using the Beast Inventory menu.
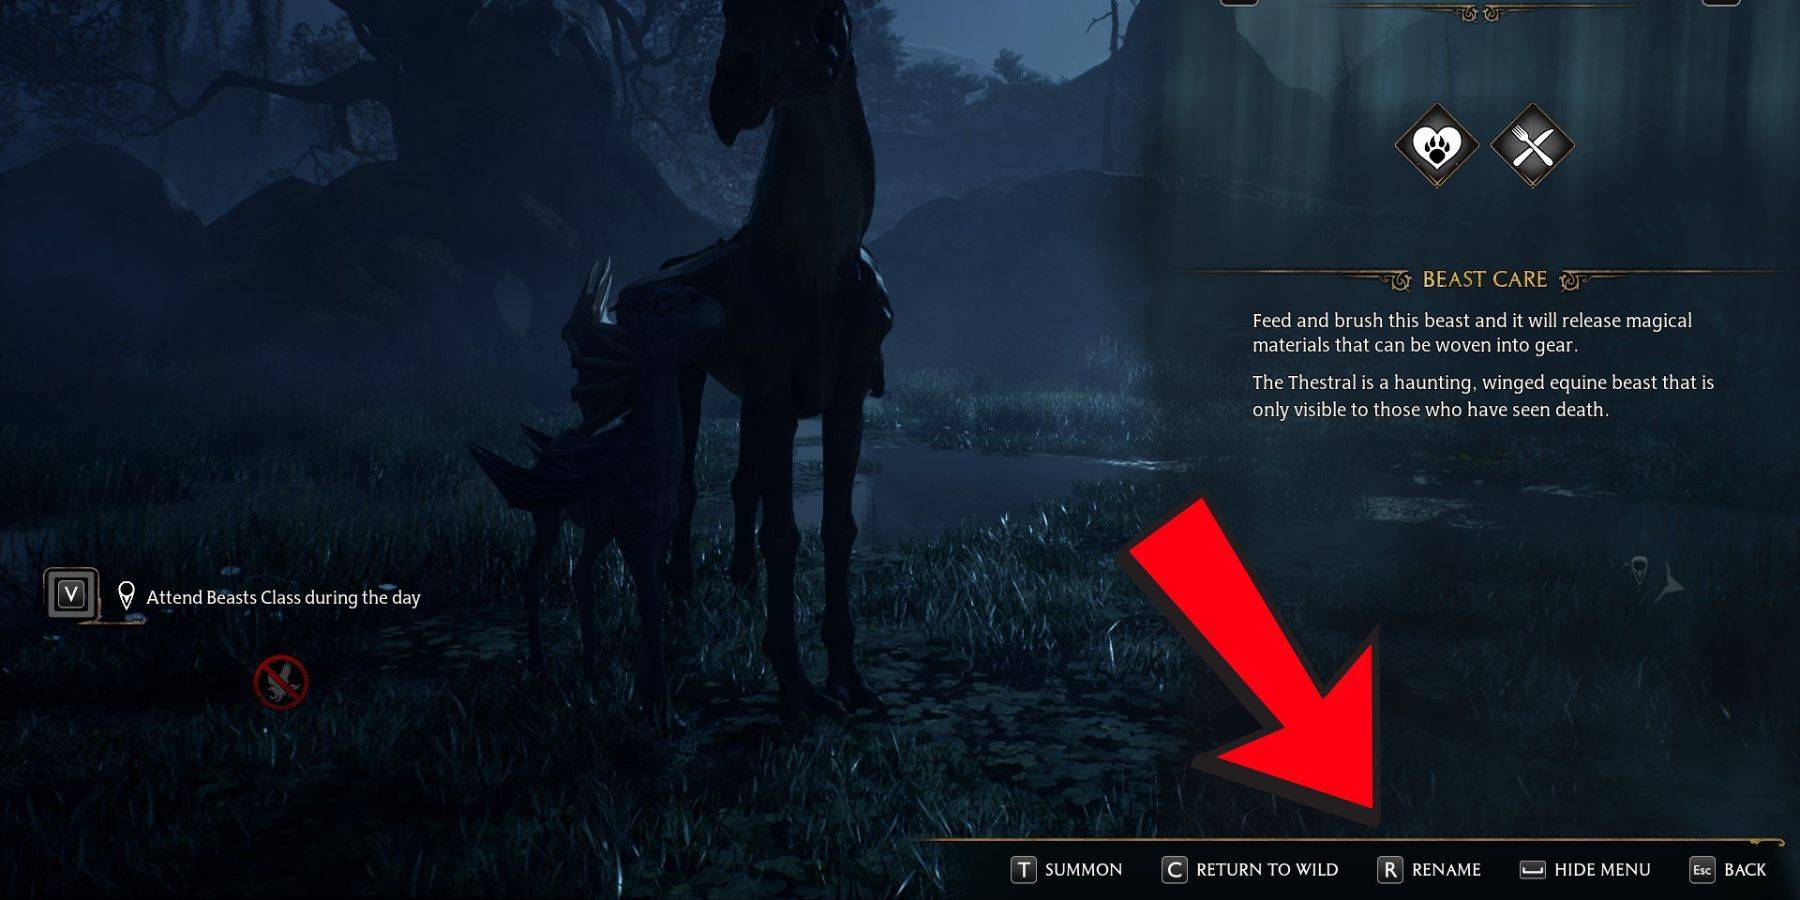
- Interact with the Beast: Approach the beast and interact with it. This will display its current health and other information.
- Select "Rename": Within the interaction menu, you'll find the option to rename your beast. Choose this option.
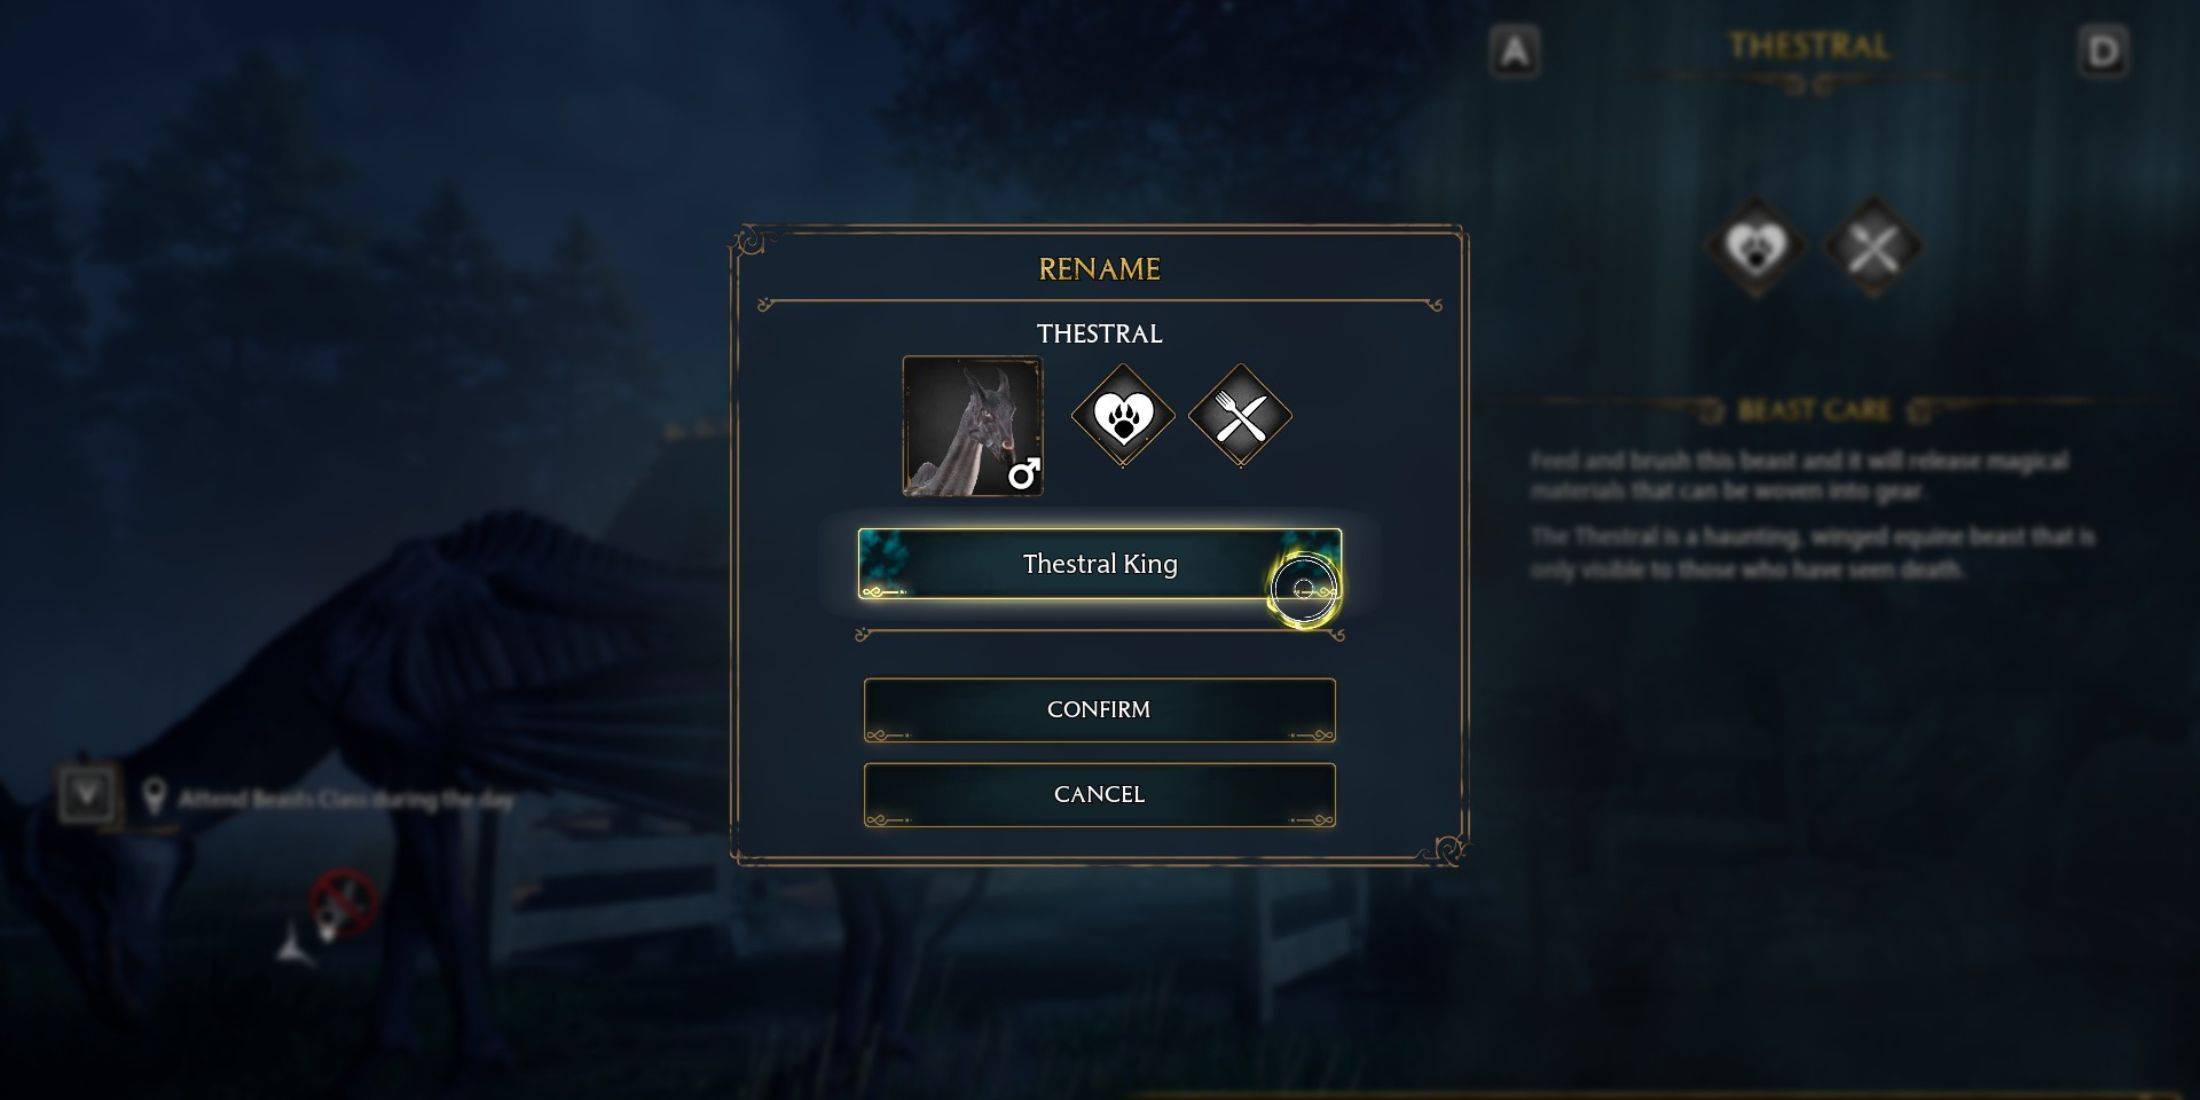
- Enter and Confirm Nickname: Type your desired nickname and select "Confirm."
- View Nickname: Approach the beast again and interact; you'll see its new name displayed.
Benefits of Renaming Beasts:
Renaming your beasts simplifies management, particularly when tracking rare creatures. There are no limitations on the number of times you can rename a beast, allowing for endless customization and a stronger sense of ownership. This often-overlooked feature enhances the overall player experience.